Table of Contents
ToggleWood shake roofs bring natural beauty and character to a home, but they demand more attention than asphalt or composite alternatives. Without consistent maintenance, shakes deteriorate quickly, splitting, cupping, and hosting colonies of moss that accelerate decay. A neglected shake roof might need replacement in 15 years, while a well-maintained one can last 30 to 40 years or more. The difference comes down to routine inspections, timely cleaning, and protective treatments. This guide walks through the essential maintenance tasks that keep wood shakes weathertight and attractive, year after year.
Key Takeaways
- Well-maintained wood shake roofs can last 30 to 40 years or more, while neglected ones may require replacement in just 15 years, making shake roof maintenance a cost-effective investment.
- Conduct seasonal inspections twice yearly (spring and fall) to catch missing shakes, cracks, cupping, moss growth, and flashing issues before they cause water damage and costly repairs.
- Clean shake roofs every 2 to 3 years using soft-bristle brushes and oxygen bleach solutions—avoid pressure washers above 1,200 PSI and chlorine bleach, which splinter wood and corrode flashings.
- Prevent moss, algae, and mold by trimming overhanging branches, installing zinc or copper ridge strips, and maintaining proper gutter drainage to reduce moisture accumulation.
- Apply protective preservative treatments every 3 to 5 years using oil-based or water-based formulas to restore cedar’s natural oils and defend against UV degradation, rot, and biological growth.
- Replace damaged or split shakes promptly with stainless steel or galvanized fasteners, and seal seams with elastomeric sealant to maintain weatherproofing and prevent secondary structural damage.
Why Regular Shake Roof Maintenance Is Essential
Wood shakes are dimensionally sawn or split from cedar, redwood, or other rot-resistant species. They’re thicker and more textured than shingles, offering excellent insulation and a rustic aesthetic. But wood is hygroscopic, it absorbs and releases moisture with humidity changes. This movement causes expansion, contraction, and eventual splitting if the material isn’t protected.
Rot, moss, and UV degradation are the primary enemies. Cedar’s natural oils provide some resistance, but those oils leach out over time. Once the surface is bare, moisture penetrates deeper, and fungi colonize the grain. Moss and algae hold water against the wood, accelerating breakdown. UV radiation degrades lignin (the glue binding wood fibers), turning shakes gray and brittle.
Regular maintenance addresses these threats before they compromise the roof’s weatherproofing. Routine inspections catch cracked or missing shakes early. Cleaning removes organic debris that traps moisture. Preservative treatments replenish oils and inhibit biological growth. Skipping these steps often means facing a full tear-off and replacement decades earlier than necessary, a project that can run $15,000 to $30,000 or more depending on roof size and regional labor rates.
Permits and inspections: Maintenance tasks like cleaning and minor repairs typically don’t require permits. Full re-roofing does, and codes (often based on the International Residential Code) may mandate underlayment upgrades or fire-rated shakes in wildfire-prone zones. Always check local building department requirements before major work.
Seasonal Inspection Checklist for Shake Roofs
Inspect your shake roof twice a year, once in spring and again in fall. Use binoculars from the ground if you’re uncomfortable on a ladder, but a closer look from the eaves or a stable ladder position reveals more.
Spring Inspection (Post-Winter)
- Missing or displaced shakes: High winds and ice dams can lift or dislodge shakes. Mark any gaps.
- Splits and cracks: Freeze-thaw cycles open fissures. Check butt ends and mid-grain.
- Cupping or warping: Shakes that curl at the edges allow water infiltration.
- Moss, algae, or lichen: Note heavy growth areas, especially on north-facing slopes.
- Flashing condition: Inspect valleys, chimneys, and vent boots for rust, separation, or open seams.
- Gutter debris: Clean out leaves and granules that can dam water.
Fall Inspection (Pre-Winter)
- Repeat the spring checks: Look for new damage from summer storms.
- Fastener integrity: Exposed or rusted nails can pop, loosening shakes. Drive protruding nails flush or replace them with stainless steel or hot-dipped galvanized fasteners.
- Underlayment exposure: If you see felt or synthetic underlayment peeking through, immediate repair is needed.
- Attic ventilation: Poor ventilation traps moisture, rotting shakes from below. Confirm soffit and ridge vents are clear.
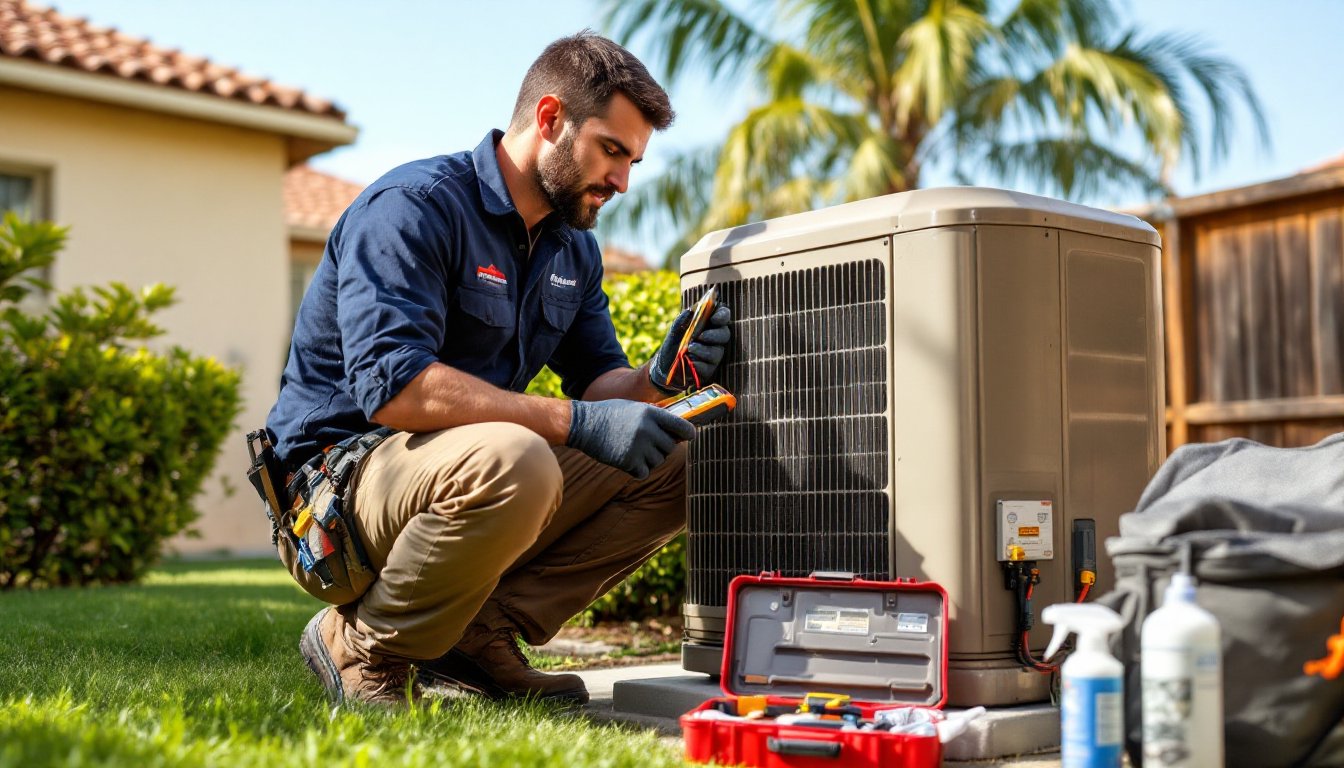
Safety: Wear rubber-soled shoes with good traction. Use a roof-rated ladder with standoffs to avoid crushing shakes. If your roof pitch exceeds 6:12 or you’re not comfortable with heights, hire a professional inspector. Many roofing contractors offer seasonal inspections for $150 to $300.
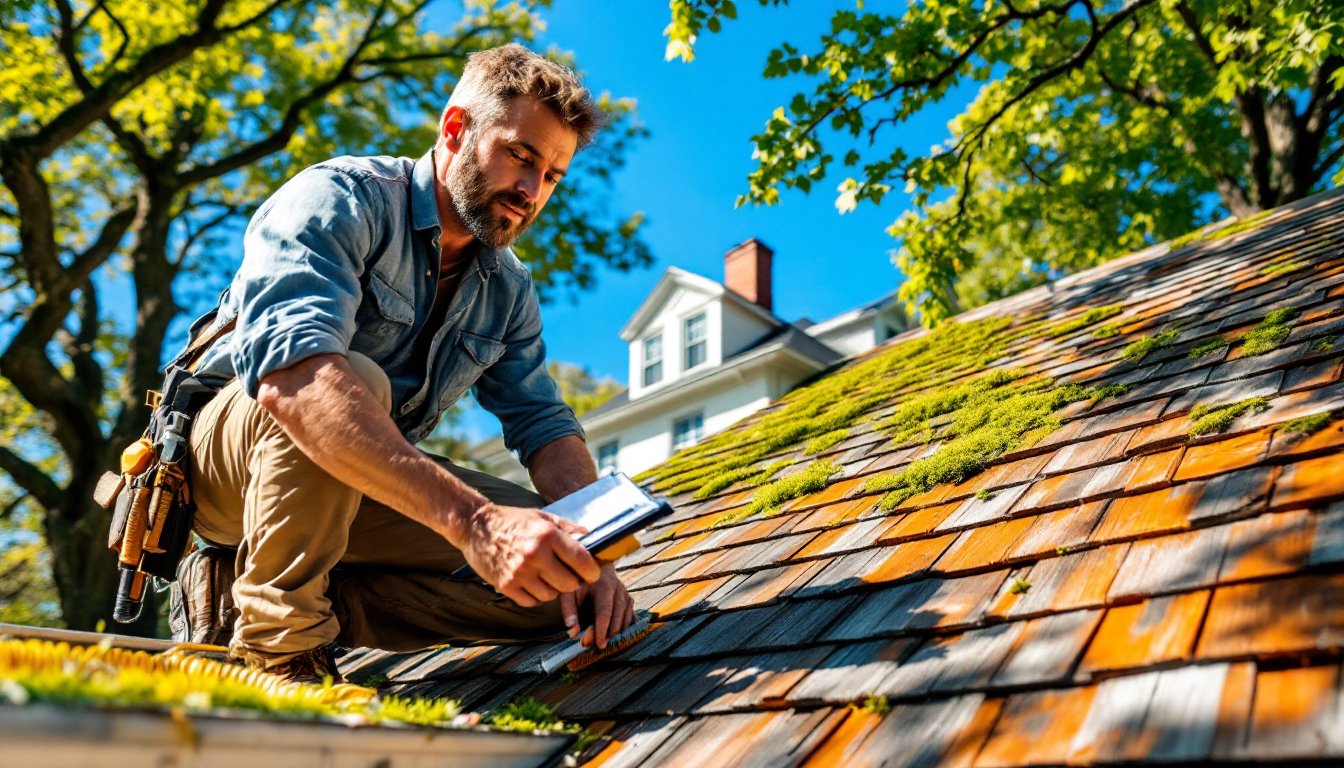
Cleaning Your Shake Roof: Best Practices and Techniques
Cleaning removes organic debris, dirt, and light moss before they cause lasting damage. Do this every 2 to 3 years or more often in humid, shaded climates.
Tools and Materials
- Soft-bristle brush or roof broom (stiff wire brushes gouge wood fibers)
- Garden hose with spray nozzle (pressure washers can splinter shakes if misused)
- Safety harness and anchor points (if working on steep pitches)
- Non-toxic wood cleaner or oxygen bleach solution (sodium percarbonate-based, not chlorine bleach)
- PPE: Gloves, safety glasses, non-slip footwear
Step-by-Step Cleaning
- Clear loose debris: Use the roof broom to sweep away leaves, twigs, and pine needles. Work downward from ridge to eaves to avoid pushing debris under shakes.
- Wet the surface: Lightly mist the roof with a garden hose to prevent the cleaner from soaking in too fast.
- Apply cleaner: Mix oxygen bleach per label instructions (typically 1 cup per gallon of water). Spray or brush onto sections, working in 10×10-foot areas.
- Let it dwell: Allow 15 to 20 minutes for the solution to break down organic stains. Don’t let it dry: re-wet if needed.
- Scrub gently: Use the soft brush to agitate stained areas. Avoid excessive pressure, cedar is softer than pressure-treated lumber.
- Rinse thoroughly: Hose from top to bottom, ensuring all cleaner residue is removed. Leftover chemicals can attract dirt.
- Inspect while wet: Wetted shakes reveal hidden cracks and rot more clearly. Mark problem spots with chalk or tape.
Pressure washer caution: If you must use a pressure washer, keep it under 1,200 PSI with a wide fan tip (25° or 40°), and hold the nozzle at least 12 inches from the surface. Higher pressure or closer distance will fray wood grain and shorten shake life. Homeowners seeking detailed DIY advice often find step-by-step photo guides helpful for visual reference.
Treating and Preventing Moss, Algae, and Mold Growth
Moss is the most visible biological threat. Its root-like rhizoids penetrate wood grain, lifting shakes and trapping moisture. Algae (green streaks) and mold (black spots) also degrade surface fibers and stain the wood.
Removal
- Manual scraping: For light moss, use a putty knife or plastic scraper to gently lift patches. Work in the direction of the wood grain.
- Chemical treatment: Apply a moss-killing solution (zinc sulfate, copper sulfate, or potassium salts of fatty acids). Follow label rates, overuse can discolor wood. Let the product sit for the recommended time (often 24 to 48 hours), then brush and rinse.
- Avoid chlorine bleach: It whitens wood and corrodes metal flashings. Stick to oxygen bleach or dedicated wood cleaners.
Prevention Strategies
- Trim overhanging branches: Increase sunlight and airflow. Moss thrives in shade and still air.
- Install zinc or copper strips: Fasten 2-inch-wide strips along the ridge. Rain washes trace amounts of metal ions down the roof, inhibiting moss and algae. Replace strips every 5 to 7 years as they oxidize and lose effectiveness.
- Improve drainage: Clean gutters and downspouts to prevent water backup. Standing water accelerates biological growth.
- Apply biocide treatments: Some wood preservatives include fungicides and algaecides. These are covered in the next section.
Regional note: Pacific Northwest and coastal climates see heavier moss growth. Homeowners in these areas may need annual cleaning schedules and more frequent preservative applications.
Repairing Damaged or Split Shakes
Even well-maintained roofs develop splits and cracks. Catching them early prevents leaks and secondary water damage to sheathing and framing.
Replacing a Split Shake
Tools: Flat pry bar, hammer, hacksaw blade, utility knife, stainless steel or hot-dipped galvanized roofing nails (1½ to 2 inches).
- Lift the overlapping shakes: Carefully pry up the shakes in the course above the damaged one. Work gently to avoid cracking adjacent pieces.
- Cut the nails: Slide a hacksaw blade under the damaged shake and cut through the fasteners. A reciprocating saw with a metal-cutting blade works faster but requires a steady hand.
- Remove the damaged shake: Pull it free, wiggling side to side if it binds.
- Measure and cut the replacement: New shakes should be ⅜ to ½ inch narrower than the gap (wood expands with moisture). Use a circular saw or hatchet to trim if needed.
- Slide the new shake into place: Tap it up until the butt aligns with the course. Leave ⅛ to ¼ inch gaps on each side for expansion.
- Fasten: Drive two nails about 1 inch from each edge and 1 to 2 inches above the butt line of the overlapping course. Nails should penetrate the sheathing by at least ¾ inch. Set the nail heads flush, not countersunk.
- Seal (optional): For extra insurance, apply a bead of elastomeric roof sealant under the lifted shake edges before pressing them back down.
Patching Minor Splits
For cracks less than ¼ inch wide and not near the butt edge:
- Clean the split with a wire brush.
- Apply exterior wood glue or elastomeric sealant into the crack.
- Press the edges together and wipe excess.
- For wider splits, insert a thin wood shim coated with sealant, then nail on either side of the split.
When to call a pro: If you find widespread rot, sagging sections, or exposed underlayment across large areas, the roof may need structural repairs or replacement. A licensed roofer can assess sheathing condition and load-bearing integrity.
Applying Protective Treatments and Preservatives
Preservatives restore natural oils, repel water, and inhibit UV and biological damage. Plan to treat a shake roof every 3 to 5 years, or sooner if the wood looks dry and gray.
Types of Treatments
- Oil-based preservatives: Penetrate deeply, restoring cedar’s natural resins. Often contain linseed or tung oil plus fungicides and UV inhibitors. They darken the wood slightly and enhance grain.
- Water-based treatments: Easier cleanup, lower VOCs, and dry faster. May not penetrate as deeply but still provide good protection. Look for products with alkyd or acrylic resins.
- Clear vs. pigmented: Clear treatments maintain natural color but offer less UV protection. Semi-transparent stains add pigment for better UV blocking and can refresh faded wood. Solid stains hide grain and aren’t typical for shake roofs.
Application Steps
- Prep the surface: Clean and let the roof dry completely (2 to 3 sunny days). Moisture trapped under a sealer causes blistering and peeling.
- Check weather: Apply when temperatures are between 50°F and 85°F and no rain is forecast for 24 to 48 hours.
- Choose application method: Airless sprayers cover large areas fast. Pump sprayers work for smaller roofs. Brushing ensures deep penetration but is labor-intensive.
- Apply evenly: Work in sections, maintaining a wet edge to avoid lap marks. Two thin coats penetrate better than one heavy coat. Let the first coat dry per label (usually 2 to 4 hours).
- Protect flashings: Tape off metal valleys and vents to prevent staining. Some treatments can corrode galvanized steel.
- Ventilate: If using oil-based products, fumes can be strong. Wear a respirator with organic vapor cartridges.
Product selection: Brands like Penofin, TWP, and Wolman offer shake-specific formulas. Read reviews and consider costs carefully, prices range from $50 to $150 per five-gallon pail, and a typical 2,000-square-foot roof needs 5 to 10 gallons depending on porosity.
Fire retardants: In wildfire zones, Class A fire-rated treatments are often required by code. These are applied during manufacturing or as a topical treatment. Consult your local building department and a fire-rated product manufacturer for compliance.
Conclusion
A shake roof isn’t a set-it-and-forget-it system. It requires biannual inspections, periodic cleaning, prompt repairs, and regular preservative applications. Homeowners who commit to this schedule enjoy decades of service from one of the most attractive and durable roofing materials available. Neglect, on the other hand, turns a premium roof into a costly replacement project. The work isn’t difficult, most tasks need only basic tools and a steady afternoon, but consistency matters more than perfection.