Table of Contents
ToggleMost plumbing disasters don’t start with a dramatic flood. They begin months earlier with a slow drip, a faint rattle, or a toilet that doesn’t quite flush right. By the time homeowners notice the problem, they’re staring down a four-figure repair bill and possibly water damage to boot.
Annual plumbing maintenance isn’t glamorous, but it’s one of the highest-return investments a homeowner can make. A systematic inspection catches small issues before they cascade into emergencies. The checklist below walks through the essential tasks to perform each year, broken down by season and by system, with clear guidance on what to DIY and when to call a pro.
Key Takeaways
- Annual plumbing maintenance prevents expensive emergencies by catching small issues like slow drips and worn components before they escalate into costly water damage.
- Spring is the ideal time for a comprehensive plumbing inspection, especially after winter freeze-thaw stress, to test fixtures, water heaters, and outdoor faucets.
- Drain maintenance tasks like cleaning strainers, using baking soda and vinegar, and testing drain flow rates are simple DIY actions that prevent clogs and backups.
- Water heater care—testing the TPR valve, draining sediment, and maintaining a 120°F temperature setting—extends appliance lifespan and improves efficiency.
- Know your limits: tackle fixture inspections and drain cleaning yourself, but call a licensed plumber for leaking pipes, gas line work, sewer issues, or tasks requiring permits.
- A professional whole-house plumbing inspection every few years combined with regular DIY maintenance ensures early detection of hidden problems and keeps your home protected.
Why Annual Plumbing Maintenance Matters for Homeowners
Plumbing systems operate out of sight, which makes them easy to neglect. Most components, pipes, valves, seals, and fittings, have lifespans measured in decades, but their performance degrades gradually. A rubber washer hardens. A solder joint corrodes. A sediment layer builds up inside a water heater tank.
Left unchecked, these small failures compound. A pinhole leak in a supply line can saturate framing lumber for months before anyone notices. A slow drain becomes a full clog, then a sewage backup. A water heater that’s never flushed loses efficiency and eventually fails catastrophically, dumping 40 to 50 gallons onto the floor.
The cost of prevention is minimal. An annual inspection takes a few hours and requires no specialized tools beyond a flashlight, adjustable wrench, and bucket. The payoff is substantial: fewer emergency calls, lower water bills, and extended lifespan for fixtures and appliances. Insurance claims data consistently show that water damage is among the most common and expensive homeowner losses, and a significant percentage of those losses are preventable with routine maintenance.
Timing matters. Spring is ideal for a comprehensive plumbing checkup because it follows the stress of winter freeze-thaw cycles and precedes the high-demand summer months when irrigation, pools, and outdoor faucets see heavy use.
Spring Plumbing Inspection: What to Check First
Spring is when most plumbing problems surface. Frozen pipes that cracked in January start leaking in March. Outdoor hose bibs that weren’t properly winterized reveal damage once they’re turned back on. Start the inspection indoors, working methodically through fixtures and appliances before moving outside.
Inspect Fixtures, Faucets, and Visible Pipes
Begin at the fixtures. Turn on every faucet in the house, kitchen, bathrooms, utility sinks, tubs, and showers. Run both hot and cold water for 30 seconds each. Listen for rattling (loose pipes or water hammer), watch for discoloration (rust or sediment), and check flow rate. A sudden drop in pressure usually indicates a clog or a failing valve.
While the water runs, inspect under each sink. Look for moisture on the cabinet floor, corrosion on shut-off valves, and flexibility in supply lines. Braided stainless steel supply lines are standard, but rubber variants degrade faster and should be replaced every five years. Check the P-trap for leaks and slow drips: a loose slip nut is a common culprit.
Inspect visible pipes in basements, crawl spaces, and utility rooms. Look for water stains on joists, green corrosion on copper fittings, and white calcium buildup around joints. These are early indicators of leaks. Run a dry hand along pipes to feel for dampness you can’t see. Pay special attention to areas where pipes pass through exterior walls or unheated spaces.
Check toilets next. Remove the tank lid and inspect the flapper, fill valve, and overflow tube. A flapper that doesn’t seat fully wastes hundreds of gallons per month. Drop food coloring into the tank: if color appears in the bowl within 15 minutes without flushing, the flapper needs replacement. Test the shut-off valve by turning it off and on. Many haven’t been operated in years and seize up, which becomes a problem during an emergency repair.
Outdoor faucets (hose bibs) are high-risk areas. Turn them on and check for leaks at the handle and where the pipe enters the wall. If water seeps from the siding, the pipe likely froze and cracked inside the wall. That’s a plumbing system failure requiring immediate attention to prevent structural damage.
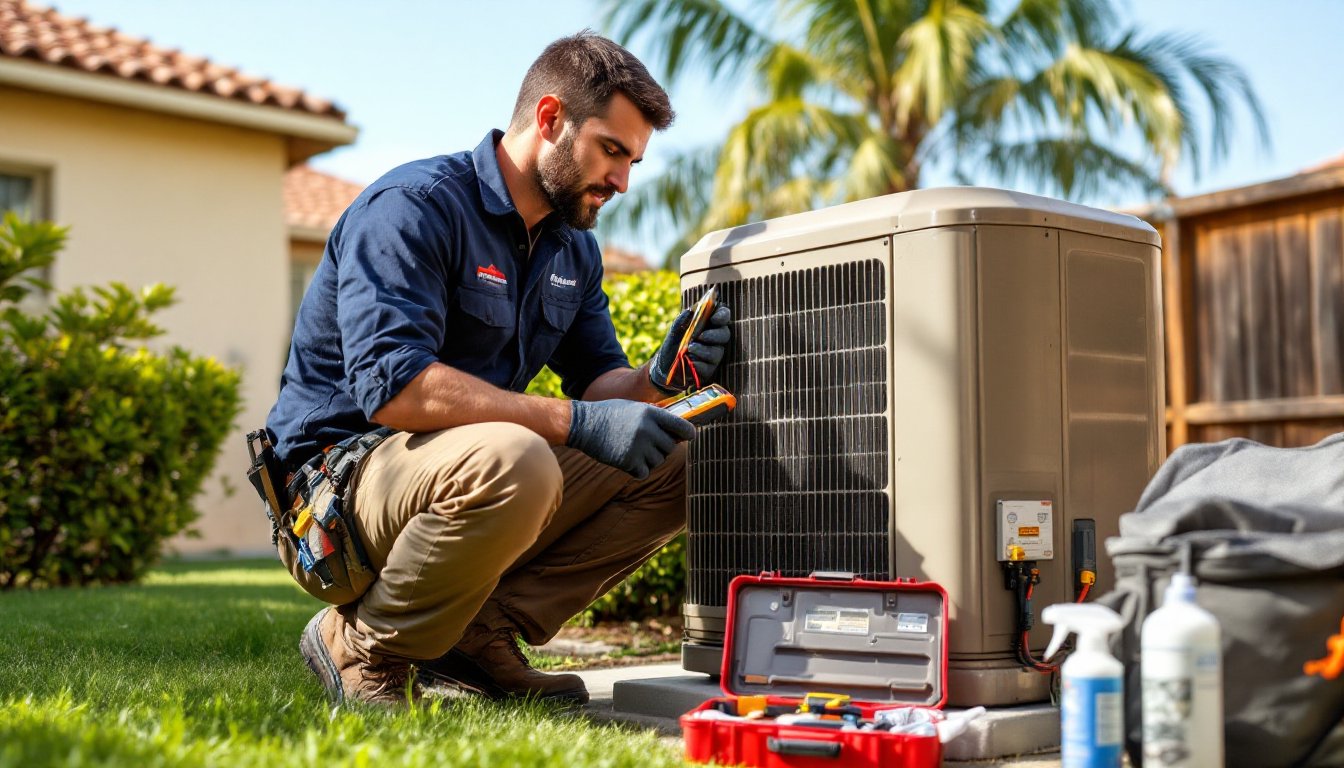
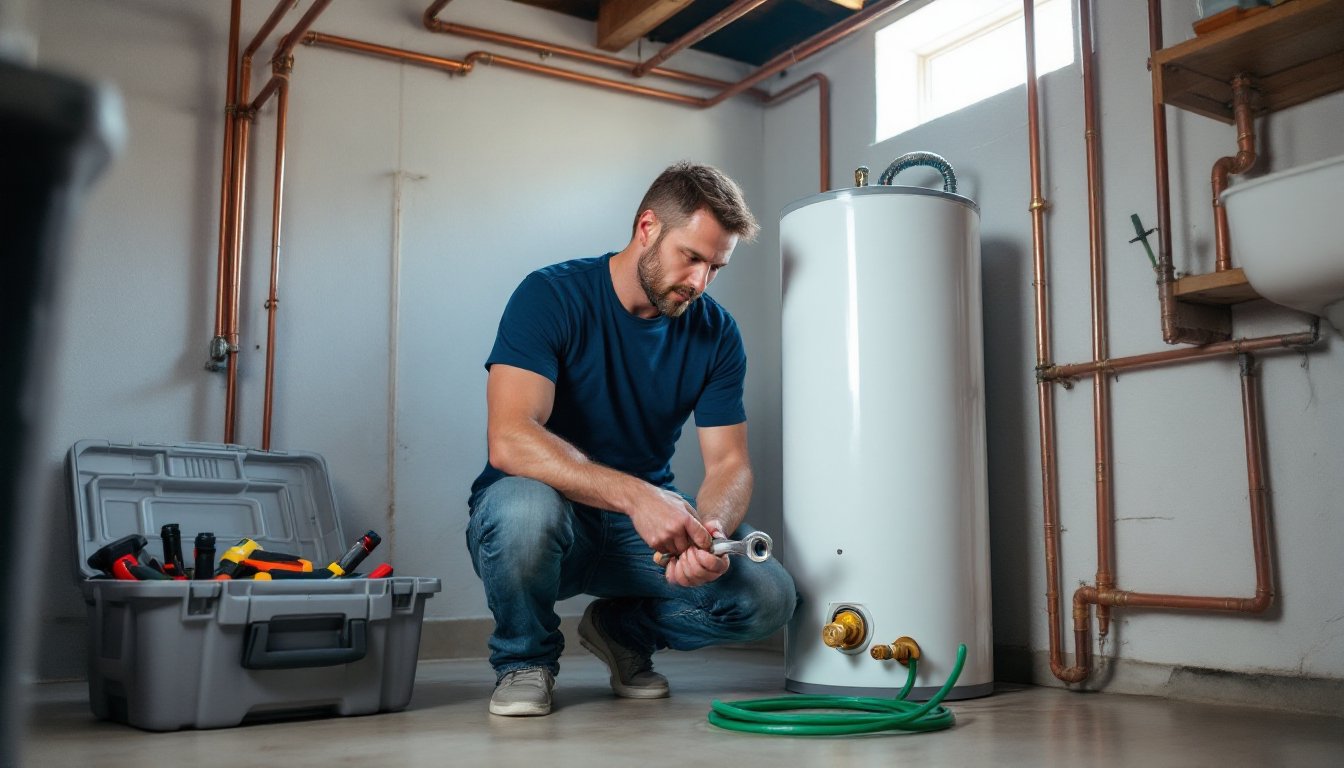
Test Your Water Heater Performance
Water heaters are the hardest-working appliance in most homes, yet they’re rarely inspected. Start with a visual check. Look for rust on the tank, corrosion on fittings, and moisture on the floor. A small puddle might indicate a failing temperature and pressure relief (TPR) valve or a pinhole leak in the tank itself.
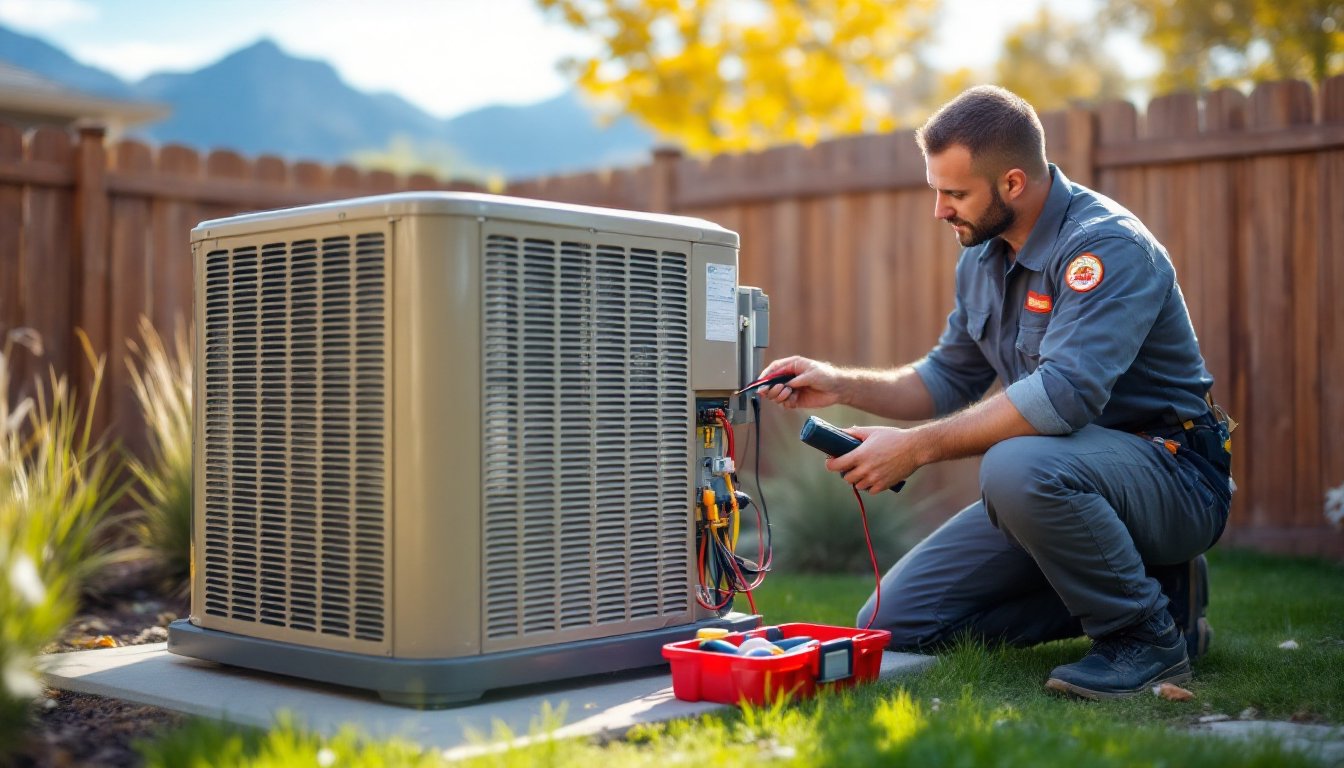
Test the TPR valve by lifting the lever briefly. Water should discharge through the overflow pipe, then stop cleanly when you release it. If nothing happens, or if water continues to dribble afterward, the valve is stuck and must be replaced. TPR valves are critical safety devices: a failed valve can allow dangerous pressure buildup.
Drain sediment from the tank. Attach a garden hose to the drain valve at the bottom of the tank and run it to a floor drain or outside. Open the valve and drain two to three gallons into a bucket. The water should run relatively clear. If it’s brown or gritty, continue draining until it clears, or consider a full flush if sediment is heavy. Sediment reduces efficiency and accelerates tank corrosion.
Check the temperature setting on the thermostat. 120°F is the recommended setting for safety and efficiency. Higher temperatures increase scalding risk and energy costs. If you have a tankless water heater, inspect the inlet filter screen for debris and ensure error codes aren’t displayed on the control panel.
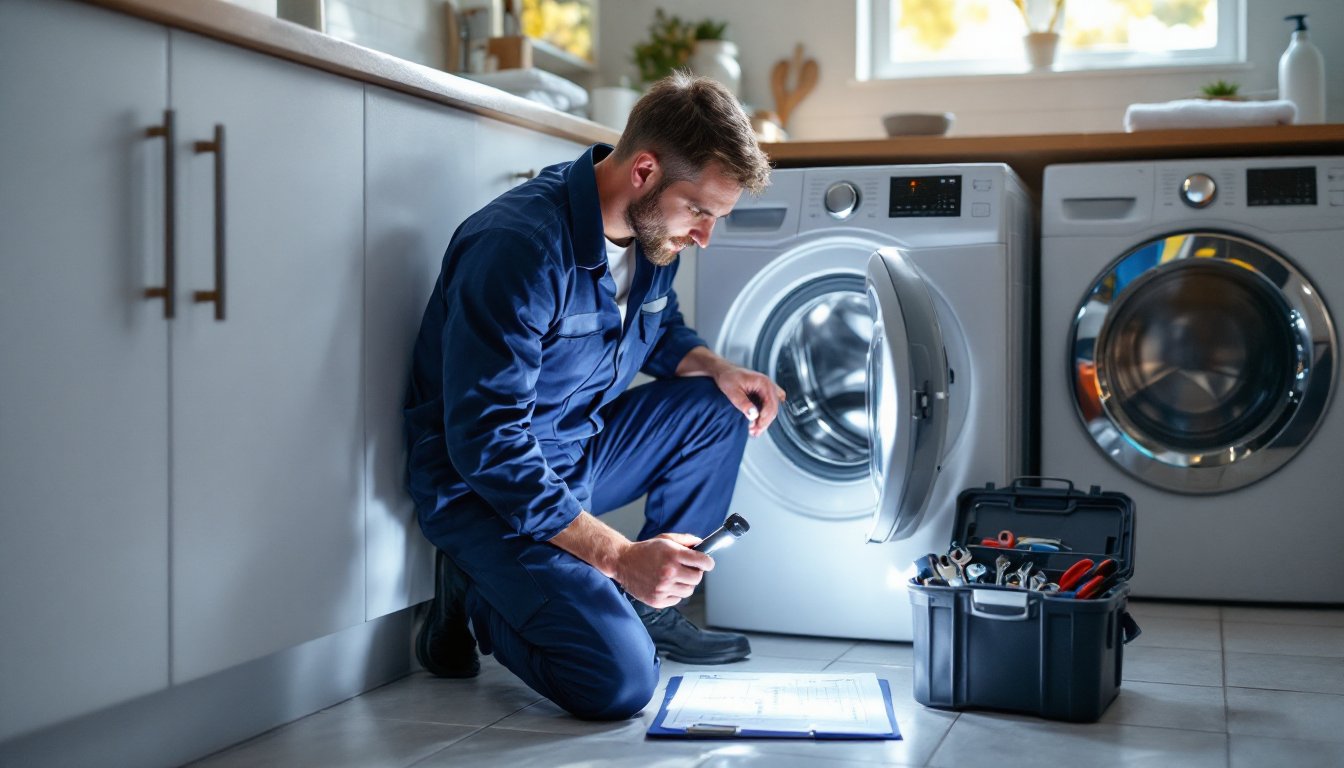
Drain and Sewer Line Maintenance Tasks
Clogged drains are one of the most common plumbing complaints, and most are preventable. Annual drain maintenance keeps wastewater flowing freely and reduces the risk of backups that can contaminate living spaces.
Start by testing all drains for flow rate. Fill a sink or tub with a few inches of water, then pull the stopper and watch how quickly it drains. A slow drain indicates a partial clog forming. Don’t wait until it stops completely, address it now.
Remove and clean all drain stoppers and strainers. Hair, soap scum, and biofilm accumulate quickly, especially in bathroom drains. Use a bent wire or drain snake (a hand-crank auger works for most household drains) to pull out debris from the trap and drainpipe. For kitchen sinks, flush the drain with boiling water to melt grease buildup, followed by a mixture of half a cup of baking soda and half a cup of white vinegar. Let it sit for 15 minutes, then flush with hot water.
Avoid chemical drain cleaners for routine maintenance. They’re harsh on pipes (especially older galvanized steel or PVC), and repeated use can damage seals and gaskets. Enzymatic drain cleaners are gentler and effective for maintaining clear lines, though they work slowly and aren’t suitable for full clogs.
Inspect floor drains in basements, garages, and utility rooms. These often dry out, allowing sewer gases to enter the home. Pour a gallon of water down each floor drain to refill the trap and restore the seal. If the drain smells even after refilling, there may be a venting issue or a crack in the trap.
Sewer line inspection is beyond most DIYers, but there are warning signs to watch for. Multiple slow drains, gurgling toilets, or sewage odors suggest a mainline issue. Tree roots are the most common cause, particularly in homes with clay or cast-iron sewer pipes. If you’ve never had the main sewer line inspected and the home is more than 20 years old, consider hiring a licensed plumber to run a camera inspection. Most rooter services offer this for $200 to $400, and it’s cheap insurance against a $5,000 sewer line replacement.
If your home has a septic system, annual maintenance is even more critical. Have the tank pumped every three to five years (more often for larger households), and never flush non-biodegradable materials. Inspecting the distribution box and drain field is also important, but requires a professional.
When to Call a Professional vs. DIY Maintenance
Most annual plumbing maintenance is well within the capability of a competent DIYer. Inspecting fixtures, testing valves, flushing drains, and draining water heaters require no special licensing and minimal tools. These tasks are about observation and minor adjustments, not major repairs.
Know when to stop. If an inspection reveals a problem you can’t confidently fix, a leaking pipe inside a wall, a failing water heater, or a sewer line clog, call a licensed plumber. Plumbing mistakes are expensive. A botched repair can cause water damage that far exceeds the cost of hiring a pro from the start.
Any work involving gas lines, sewer connections, or water service entry requires a licensed professional in most jurisdictions. Many municipalities also require permits for water heater replacement, sump pump installation, and mainline sewer work. Check with your local building department before starting projects that involve code compliance.
A professional plumbing inspection is worthwhile every few years, even for diligent DIYers. A licensed plumber brings specialized tools, leak detectors, pressure gauges, and video inspection equipment, that reveal problems invisible to the naked eye. They’re also current on code changes and can spot issues that might not be obvious to a homeowner. Budget $150 to $300 for a whole-house inspection.
Some maintenance tasks fall in a gray area. Replacing a toilet flapper or a faucet cartridge is straightforward. Replacing a shut-off valve or re-soldering a copper joint requires more skill but is manageable with the right tools and some practice. Use your judgment. If you’re uncomfortable with a task or unsure of the outcome, get a professional estimate. The cost of a service call is often less than the parts and time you’d spend learning on the fly.
Building strong relationships with reliable local plumbers pays off. When a real emergency strikes, a burst pipe at midnight, a backed-up sewer on a holiday weekend, you’ll want a trusted contractor who knows your home and will prioritize your call. A regular maintenance schedule that incorporates both DIY work and periodic professional inspections delivers the best results and ensures tasks outlined in annual checklists are consistently addressed.
Conclusion
Annual plumbing maintenance isn’t optional, it’s a fundamental part of responsible homeownership. A few hours spent inspecting fixtures, testing valves, flushing drains, and checking water heaters prevents the majority of expensive failures. Small problems caught early are cheap and easy to fix. Ignored, they become emergencies that disrupt daily life and drain bank accounts. Set a recurring calendar reminder each spring, gather your tools, and work through the checklist. Your future self will thank you.